If you’re a filmmaker using the OM System OM-1, you’re in for a treat. This compact powerhouse can produce stunning cinematic footage - whether you’re shooting B-roll, documentaries, or short films. In this post, we’ll cover 8 essential tips to help you get the most out of your OM-1. Most of these also apply to the OM System OM-3, so if you’re rocking the latest retro-styled camera, you’re covered too.
At the end of the post you can watch a short cinematic film shot on OM1 by using the tips discussed in this post. Let’s dive in.
Tip 1. Shoot in OM-Log for Maximum Flexibility
One of the easiest ways to elevate your image quality is to shoot in OM-Log with 10-bit internal recording. This gives you:
- Better color grading flexibility
- Richer, smoother gradients
- Enhanced dynamic range
- A more cinematic final look
Grading OM-Log is no more difficult than working with S-Log, C-Log, or V-Log. OM System even provides official log-to-Rec709 LUTs, making your workflow easier. Just ensure you’re using the correct LUT for your specific model (OM-1, OM-5, OM-3, etc.).
Note: Internal recording is limited to 4:2:0 chroma subsampling. For cleaner skin tones and more color information, use an external recorder like the Atomos Ninja to unlock 4:4:4 chroma output.
Pro tip: Get your white balance and exposure right in-camera to make log grading a breeze. More on this below.
Tip 2. Nail Exposure and White Balance
While the OM-1 does a solid job with auto white balance, manual white balance is essential when shooting in log - especially to preserve skin tones. You can either set white balance manually (I recommend this option) or you can let the camera do auto white balance and then lock it. For this, you need to assign lock white balance function to a custom button.
Use zebra patterns set to around 95% to avoid blown-out highlights. OM-Log footage doesn’t require over- or underexposing like other log formats - aim for proper exposure and you’re good.
Tip 3. Stick to 24fps and 1/48 Shutter Speed
For that timeless cinematic motion, shoot at 24 frames per second and follow the 180-degree shutter rule - meaning your shutter speed should be double of the frame rate, i.e. - 1/48. Thankfully, the OM-1 lets you dial in 1/48 exactly (not just 1/50 or 1/60 like some cameras).
But if you’re filming in daylight, a lower shutter speed can overexpose your footage. That’s where filters come in and this brings us to tip #4.
Tip 4. Use ND and Diffusion Filters
To control exposure while maintaining the correct shutter speed in bright environments, you’ll need:
-
ND Filters: A variable ND filter is ideal for run-and-gun setups. For maximum flexibility and comfort, I use magnetic variable ND filters.
-
Black Diffusion Filters: These help soften digital sharpness, bloom highlights slightly, and add a subtle, cinematic glow.
Tip 5. Choose the Right Lenses
MFT sensors naturally have a deeper depth of field, so fast prime lenses are your best friend. They provide that shallow DoF and perform better in low light.
Budget-Friendly Picks:
- 17mm f/1.8
- 25mm f/1.8
- 45mm f/1.8
Premium Cinematic Glass:
- 17mm, 25mm, or 45mm f/1.2
The newer 20mm f/1.4 - a fantastic storytelling focal length. This is my favorite lens partly because 40mm is my favorite focal length and partly because this lens is so cute - it’s small, fast, fully metal and weather sealed. Yes, it’s not perfect but I still love it.
Can’t afford multiple primes? Don’t worry - Tip #6 will give you a second focal length for free, well sort of.
Tip 6. Use the Digital Teleconverter Smartly
Here’s a clever hack: Assign the 1.4x digital teleconverter toggle to the record button, and move actual recording to the shutter button. This lets you seamlessly punch in and out during a take - without changing lenses or stopping the shot.
The most important moment here is that this trick works without degrading image quality. 20MP sensor has far more pixels than are needed for a 4K video. So, the camera can do this zoom in at not cost.
Tip 7. Tweak Autofocus for Filmmaking
The OM-1’s autofocus is solid, but for filmmaking, you’ll want more control.
- Lower the AF sensitivity for smoother focus transitions
- Assign custom buttons to toggle face detection and switch between AF and MF quickly
- Useful for shots like focus reveals or long takes with changing subjects
If your lens doesn’t have a focus hold button, this customization becomes even more important.
Tip 8. Use Fast SD Cards
To handle high-bitrate 10-bit footage, use UHS-II V90 SD cards. Slower cards can cause dropped frames or recording errors. Don’t let storage be your bottleneck.
Currently the fastest SD cards are from Sony, Sony Tough cards but they are quite expensive. If you need more budget-friendly options, I recommend Kingston Canvas. They are considerably cheaper and provide excellent speeds.
Bonus Tips for a Cinematic Look
Gear is just part of the equation. To truly elevate your footage:
- Use classic composition techniques: rule of thirds, leading lines, layering
- Shape your scenes with light - use shadows and highlights to build mood
- Keep camera movement subtle and purposeful
- Invest in audio - great sound design and a high-quality mic can do more than any lens
Final Thoughts
With the right settings, smart accessories, and a few creative techniques, the OM-1 transforms into a serious filmmaking tool. Try these tips on your next shoot and see the difference. And now, here’s the promised video. Hope you like it. 👇
Got a favorite trick from this list? Let me know in the comments - and be sure to subscribe for more OM System filmmaking guides and tips!
—
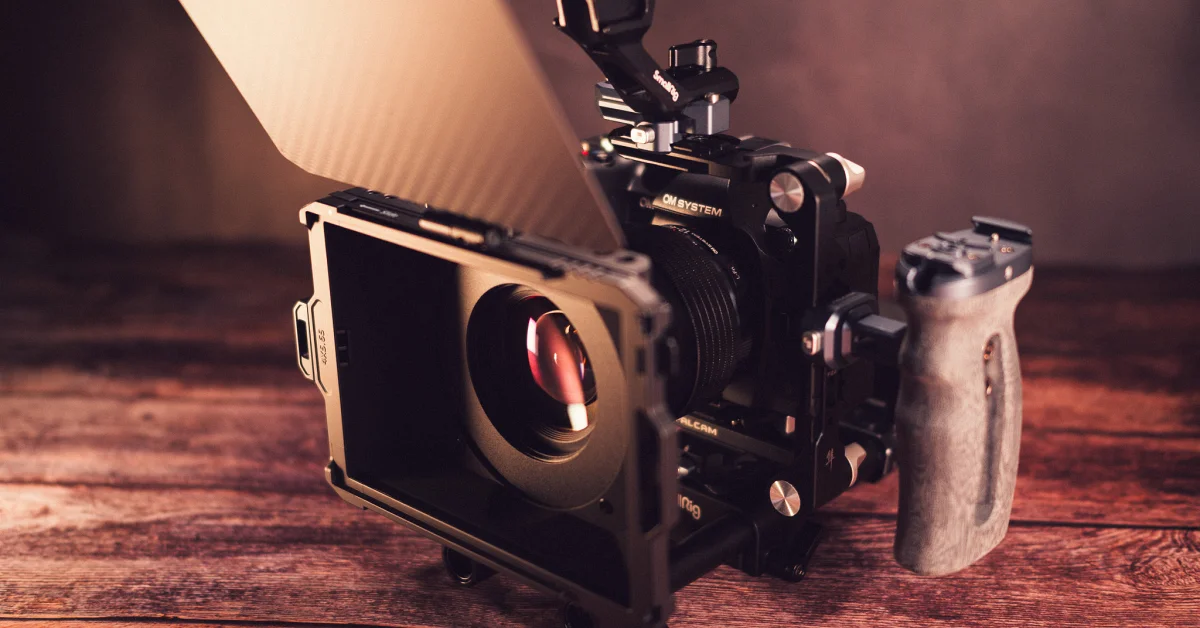
P.S. If you like my OM1 rig (on the cover photo), let me know in the comments and I will make a detailed post about it.